


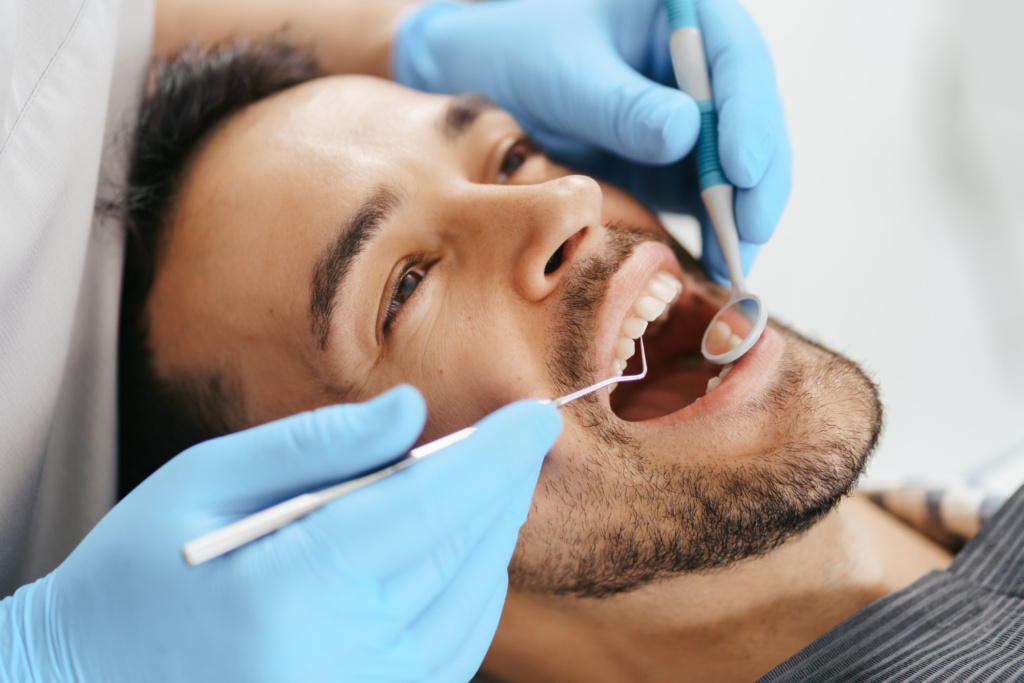
Most people can sketch a filling. Fewer can draw what actually happens when a tooth is replaced with an implant, and that gap is where the nerves creep in. If you’ve been putting off a consult because you don’t understand what you’d be agreeing to, you’re in a bigger club than you think.
Here’s the deal: an implant isn’t a tooth bolted into your gum. It’s a small post that fuses with bone, and everything else is built on top of it. Once you can picture that sequence, the fear drops and the questions get sharper. Think of this piece as a guide to dental implants white rock patients can hold in their head, the kind of map you bring to an appointment instead of vague dread.
You’ll get the anatomy, the stages, and the one question most people forget to ask.
What an implant actually is, drawn in three parts
Strip away the jargon and every implant is a stack. The post sits in bone. The abutment is the connector. The crown is the part you see and chew with. Titanium is the standard material for the post because bone accepts it, and the surrounding tissue tolerates it well, an area the National Institutes of Health documents across decades of implant research.
That’s the whole idea. Artificial root, connector, tooth. If you’ve ever set a fence post in concrete and then attached a rail, you already understand the mechanics, even if the biology is a lot more polite about it.
A quick visual breakdown
| Part | What it does | What you notice |
| Implant post | Replaces the root below the gum line | Nothing visible; heals out of sight |
| Abutment | Connects the post to the crown | A short interim piece while things settle |
| Crown | Restores the chewing surface and appearance | The tooth you actually see in photos |
I’d argue the table above is more useful than any brochure. You can point at it in a chair and ask, “which part are we on today?”
From first consult to final crown: the stages in order
The process moves in a predictable sequence, even though timelines vary with bone quality and healing. Most of what happens is waiting, which surprises people.
- Assessment. X-rays or a scan show bone volume, gum health, and how much space sits above the site.
- Planning. Your clinician decides angle, depth, and whether you’ll need a graft first.
- Placement. The post goes in during an outpatient visit, usually under local anesthesia.
- Healing. Bone grows around the post, a process called osseointegration. This is the quiet stretch.
- Restoration. The abutment and crown go on once the site is stable.
Step four is where impatience bites. People expect to leave with a new tooth the same week. That’s an exception, not the rule, and pushing it usually costs more than it saves.
The recovery stretch nobody shows you in photos
Day one is the easy part in most cases, because the numbing hasn’t worn off and you’re following instructions. Day three is when people get curious and start poking things with their tongue. Don’t. Leave the site alone, keep it clean as directed, and skip the straws and the popcorn.
This is also where the guidelines from the American Dental Association earn their keep. Soft food, gentle brushing, and honest communication about anything that feels off. Swelling that climbs instead of fades is a call, not a Google search.
What good looks like after placement
- Swelling peaks early, then eases over a few days.
- Discomfort responds to whatever your clinician recommends.
- Bleeding is light and short-lived, not steady.
- You’re back to soft food without drama within the first week.
Hold onto the item you couldn’t do before surgery, like crunching a carrot or biting into an apple. That’s what you’re working toward, and it’s a better motivator than a screenshot of somebody’s healed gum.
What to bring to your consult, and what to ask
Bring photos of your own smile from a few years back. Bring a list of medications and any history of clenching or grinding, because that changes the plan. And bring a notebook, because your brain will go blank the second someone puts a mirror in your hand.
So what should you actually ask at the consult?
Ask what happens if the site doesn’t heal as expected, and how that’s handled. Ask who does the surgical portion and who places the crown, especially if those are different people. Ask what your alternative is and what its realistic lifespan looks like. The U.S. Food and Drug Administration maintains safety information on the materials involved, which is worth a glance before you sign anything.
While you’re at it, take a selfie at the consult. Seriously. A before shot in the same lighting beats a dozen memory-based comparisons later, and this is a visual process. My pick: put the “what if it fails” question first on your list. Everyone asks about cost. Almost nobody asks about the backup plan, and that’s the answer that tells you the most about the practice.
The visual framework I’d hand a friend
Call it the Hook, Hold, Heal, Huff model. Hook is the diagnosis that got you here. Hold is the post fusing with bone. Heal is the soft tissue settling. Huff is you, blowing out the candle on the first birthday after the crown goes on without flinching at the frosting. Four checkpoints, one picture.
Use it to track where you are in the process, and use it to explain the whole thing to the person who keeps telling you to just get a bridge. It takes thirty seconds and saves a dozen confusing conversations.
Where this leaves you
The mystery is gone. You know the three parts, the five stages, the recovery stretch, and the questions that separate a rushed consult from a thoughtful one. You also know that most of the process is patience, not pain.
So do one thing this week. Write your three questions down, book the consult, and ask them out loud. What’s the first one you’d ask if you weren’t worried about sounding silly?