
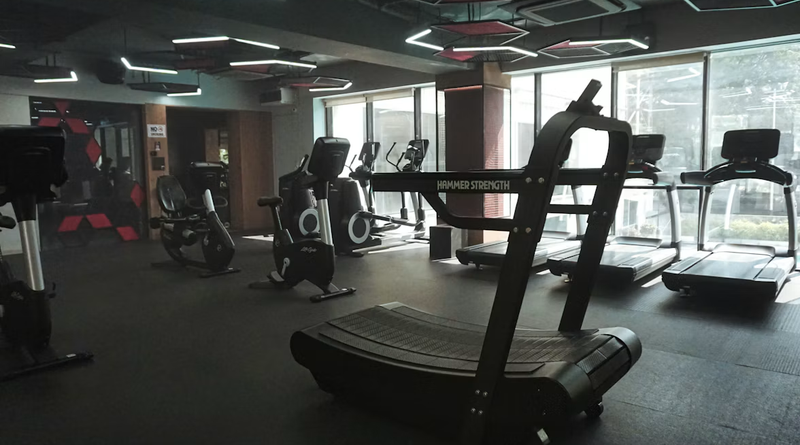
How to Plan a Home Gym with a Visual Floor Plan
Setting up a home gym without a floor plan is one of the fastest ways to waste money. Equipment arrives, nothing fits the way you imagined, and the room turns into an obstacle course instead of a training space. A visual floor plan solves this by forcing every spatial decision onto paper before a single purchase is made. Here is how to approach the process step by step.
Assess the Available Space
Start by measuring the room — length, width, and ceiling height. Measure at floor level and again at about three feet up, since baseboards, outlet covers, and wall protrusions can reduce usable depth. Ceiling height matters more than most people realize. Standard eight-foot ceilings work for floor-based exercises and cycling, but overhead presses and pull-up bars typically need at least ten feet of clearance above the finished floor. Taking these measurements before browsing equipment from retailers like Fitness Avenue prevents the common mistake of ordering a squat rack that does not fit the room.
Record the location of doors, windows, electrical outlets, and any structural elements like support columns or beams. These are fixed constraints that your layout must work around, not ignore.
Define Your Training Goals
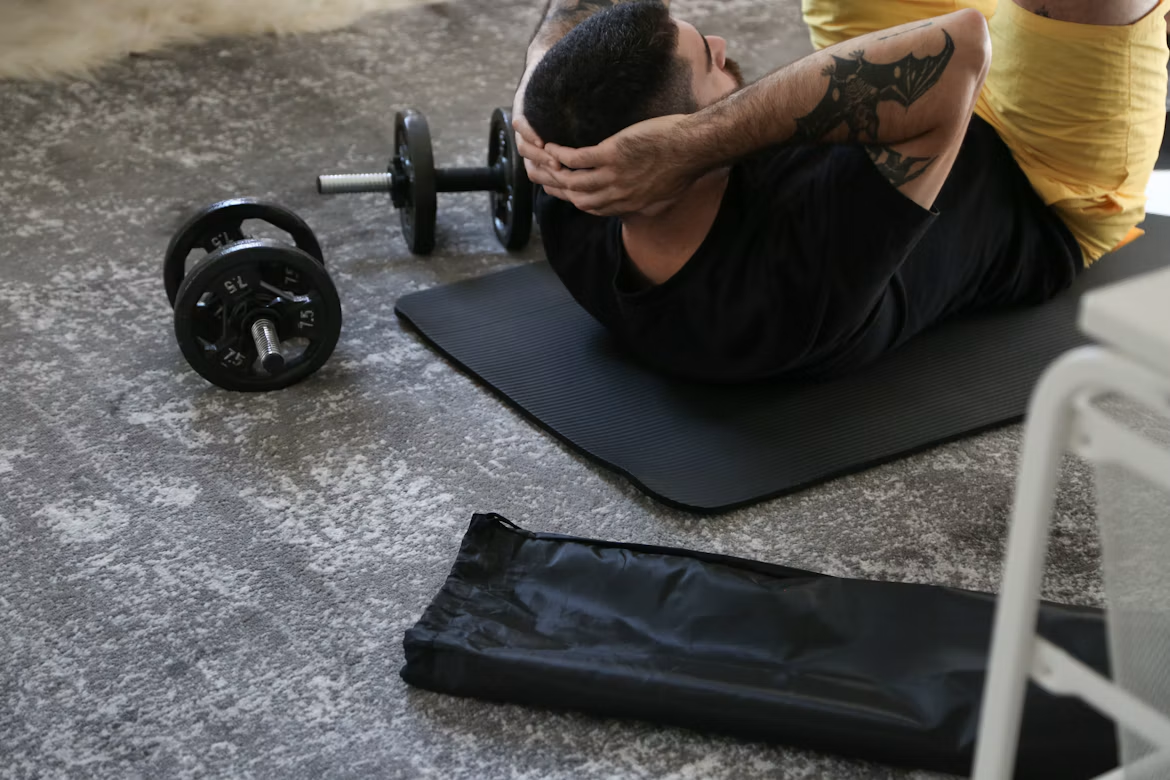
The equipment you need depends entirely on what you plan to do. A cardio-focused setup looks nothing like a strength training space, even in the same room.
- Cardio-focused: Treadmill, stationary bike, jump rope area
- Strength-focused: Squat rack, bench, barbell and plates, dumbbell rack
- Mixed use: Combination of cardio and free weights with a bodyweight training zone
- Recovery-included: Add space for stretching mats, foam rollers, or a sauna if the room supports it
Write down your priorities before browsing any equipment. This list drives every decision that follows.
Map Equipment Footprints and Clearance Zones
Every piece of gym equipment has a physical footprint and a required clearance zone around it for safe use. A treadmill, for example, takes up about 30 square feet of floor space. A squat rack takes 16 to 20 square feet but needs about four feet of open space in front for barbell loading and three feet behind for safety during failed lifts.
Clearance is the part most people skip. A bench press placed two feet from a wall might technically fit, but it leaves no room to load or unload plates. Draw each piece of equipment to scale on your floor plan, then add a clearance buffer on all sides before you consider the layout complete. If any clearance zones overlap, something has to move or be cut from the list.
Create a Scaled Visual Floor Plan
A scaled floor plan can be as simple as graph paper or as detailed as a digital design tool. The goal is the same either way: represent the room and every piece of equipment in accurate proportions so you can see exactly what fits and what doesn’t.
- Use one square per foot on graph paper, or set a 1:1 scale in a digital tool.
- Place fixed elements first — doors, windows, columns, outlets.
- Add equipment footprints with their clearance zones drawn around them.
- Leave a clear path from the door to every training zone. Blocked walkways create safety hazards, especially during high-intensity work.
A floor plan also helps you identify dead zones — areas too small for equipment but large enough to waste space. These can be repurposed for storage racks, mirrors, or wall-mounted accessories like resistance bands.
Organize the Room into Training Zones
Separating the room into distinct zones keeps the layout functional as your routine evolves. A basic zoning approach includes:
- Strength zone: Place heavy equipment like racks and benches against the sturdiest wall, ideally over structural joists if the room is on an upper floor.
- Cardio zone: Position machines where ventilation and airflow are strongest. Avoid placing treadmills directly against walls — they need rear clearance for safety.
- Flexibility zone: Designate an open area for stretching, yoga, and mobility work. This zone needs the fewest fixtures and the most open floor.
Use flooring transitions to reinforce these boundaries. Rubber tiles under free weights absorb impact and protect the subfloor. Foam panels work well in stretching areas.
Validate the Plan Before Buying
Once the floor plan is complete, review it against three checkpoints:
- Clearance: Is every piece of equipment’s full clearance zone unobstructed?
- Ceiling height: Can you perform your tallest movement without contact?
- Access: Can you move freely between zones and reach the exit without navigating around equipment?
If all three pass, the plan is ready. If anything fails, revise the layout or reduce the equipment list before spending.
A home gym planned on paper almost always outperforms one planned in your head. The floor plan is the cheapest tool in the process — and the one that prevents the most expensive mistakes.